Vanilla Paste Recipe
75% of American households love using vanilla in their baked goods. With a simple vanilla paste recipe, you can make your desserts even better. Making your own vanilla paste is easy and only needs a few ingredients and basic tools. This way, you get a top-quality paste without additives or preservatives.
This vanilla paste recipe adds a rich, aromatic taste to your baking. Making it at home means you use the best ingredients and avoid unwanted additives. By following a simple recipe, you can make a versatile ingredient for many sweet treats. Enjoy the homemade flavor boost in your vanilla paste.
Table of Contents
Understanding Vanilla Paste and Its Culinary Impact
Vanilla paste is a concentrated form of vanilla flavor. It has a big culinary impact on many dishes, especially in baking. It’s made by extracting the flavor and aroma from vanilla beans. This results in a more intense flavor and a longer shelf life than vanilla extract and whole beans.
Using vanilla paste has many benefits. It offers a consistent flavor, is easy to measure, and lasts longer. Plus, vanilla paste works well in both sweet and savory dishes. This makes it a versatile ingredient in baking and cooking.
What is Vanilla Paste?
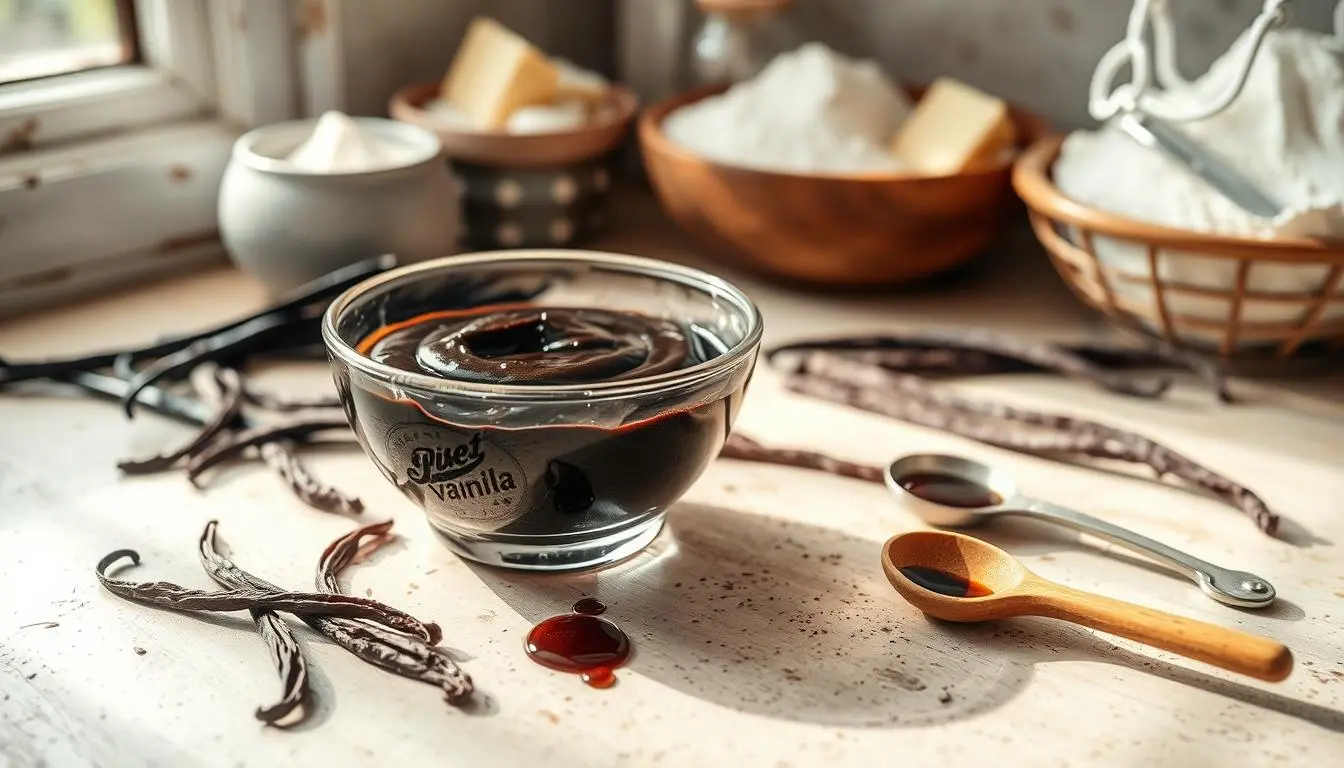
Vanilla paste is a thick, syrupy liquid from vanilla beans. It has a rich, creamy flavor and a dark brown color. It’s often used in baking to flavor cakes, cookies, and pastries.
Advantages Over Extract and Whole Beans
The benefits of using vanilla paste over vanilla extract and whole beans are:
- More intense flavor
- Longer shelf life
- Easier to measure
- More consistent flavor
Common Uses in Baking
Vanilla paste is often used in baking to add flavor to:
- Cakes
- Cookies
- Pastries
Essential Ingredients for Your Vanilla Paste
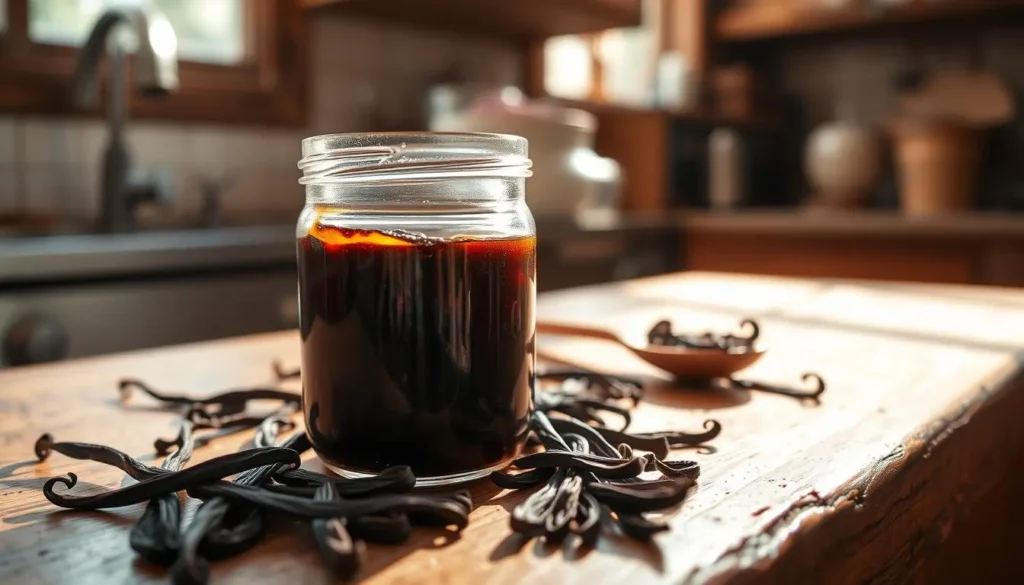
To make a top-notch homemade vanilla paste, you need a few key ingredients. You’ll need high-quality vanilla beans, a sweetener like sugar or honey, and a liquid such as water or glycerin. The quality of the vanilla beans is very important. It greatly affects the flavor and aroma of your paste.
When picking vanilla beans, you can choose from Madagascar, Tahitian, or Mexican beans. Each type has its own unique taste. You can try different ones to see which you like best. For sweetness, you can pick sugar or honey. The liquid, like water or glycerin, makes your homemade vanilla paste smooth and even.
Here are the main ingredients you’ll need:
- High-quality vanilla beans
- A sweetener, such as sugar or honey
- A liquid, such as water or glycerin
With these ingredients, you can make a tasty and fragrant homemade vanilla paste. It’s great for many recipes, like baked goods, desserts, and drinks. The right mix of vanilla beans, sweetener, and liquid lets you create a paste that’s just right for you.
Required Equipment and Tools
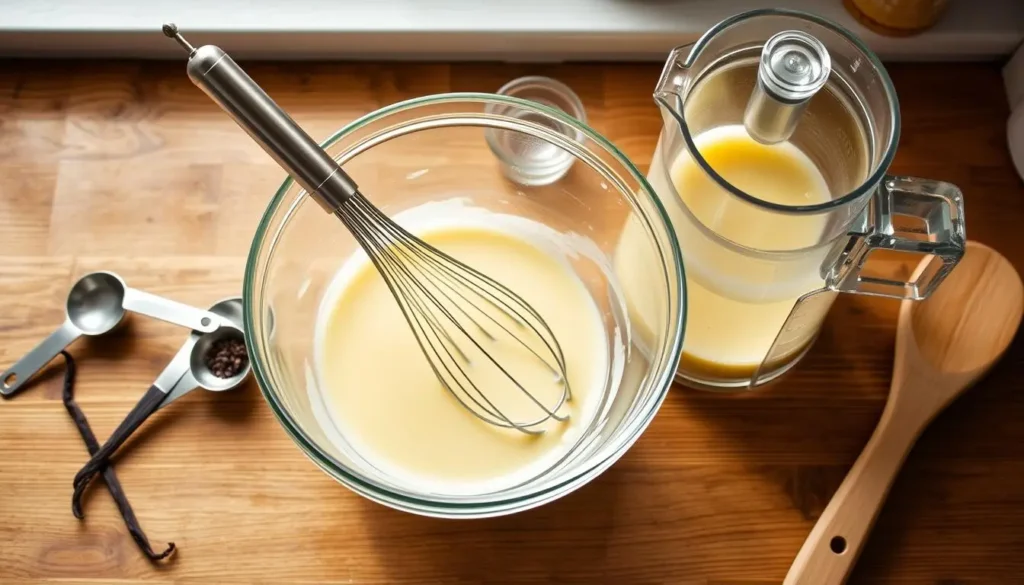
To make homemade vanilla paste, you’ll need some basic kitchen tools. A blender or food processor is key for grinding the vanilla beans into a smooth paste. You’ll also need a saucepan to heat the mixture to the right consistency. A strainer can help remove solids for a smoother texture.
For tools, consider a vanilla bean splitter for easier bean splitting. A spice grinder can also grind the beans finely. While these tools help, they’re not necessary for making vanilla paste.
- Blender or food processor
- Saucepan
- Strainer
- Vanilla bean splitter (optional)
- Spice grinder (optional)
With the right kitchen tools, you can create a top-notch vanilla paste. Choose the best equipment for your needs. Feel free to try different methods and ingredients to find what works best for you.
Choosing the Right Vanilla Beans
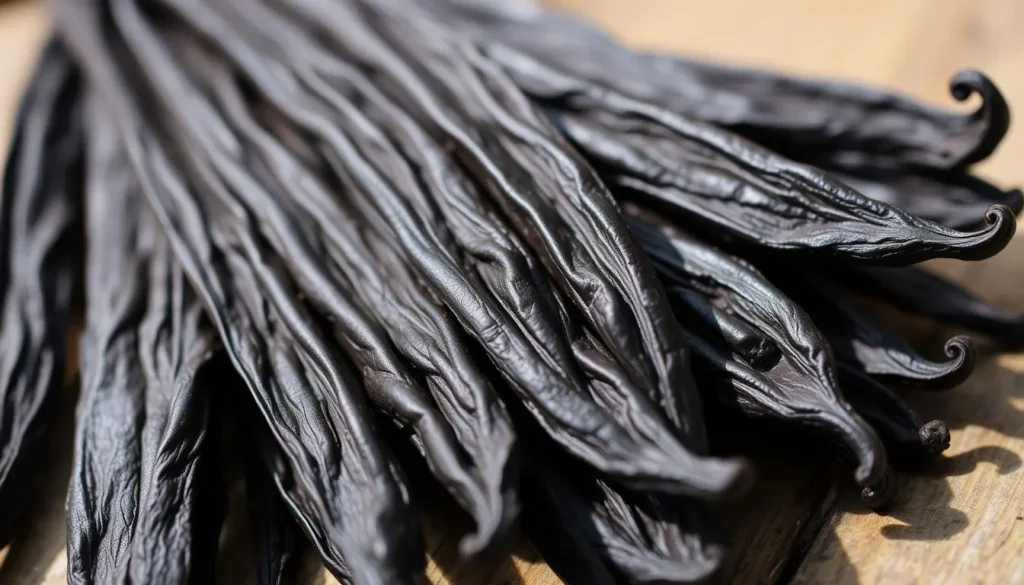
Choosing the right vanilla beans is key to making a top-notch vanilla paste. There are many vanilla bean varieties out there, each with its own taste and smell. Look for beans that are dark brown, plump, moist, and have a strong vanilla scent.
When picking the best beans, think about sourcing vanilla beans from online shops, specialty stores, or vanilla farms. Here are some things to keep in mind:
- Quality of the beans
- Price and value
- Customer reviews and ratings
Some popular vanilla bean varieties include Madagascar, Tahitian, and Mexican. Each has its own special traits. Try a few to find your favorite. By picking the right vanilla bean varieties, you’ll make a tasty and high-quality vanilla paste.
| Vanilla Bean Variety | Characteristics | Price Range |
|---|---|---|
| Madagascar | Rich, creamy flavor | $5-$10 |
| Tahitian | Fruity, floral flavor | $10-$15 |
| Mexican | Smoky, spicy flavor | $8-$12 |
The Ultimate Vanilla Paste Recipe
To make a rich, aromatic paste, you need top-quality vanilla beans, sugar, and water. This vanilla paste recipe is key to a smooth, creamy paste. You can adjust it to your liking and the vanilla beans you choose.
Here’s what you’ll need for the ultimate recipe:
- High-quality vanilla beans
- Granulated sugar
- Water
- A blender or food processor
- A fine-mesh strainer
For the best flavor, use high-quality ingredients. Find your vanilla beans from trusted sources or online. The quality of the beans affects your vanilla paste recipe‘s taste and smell.
First, split the vanilla beans and scrape out the seeds. Then, mix the seeds, sugar, and water in a blender or food processor. Blend until it’s smooth and creamy. Strain it through a fine-mesh strainer to get rid of solids.
| Ingredient | Quantity |
|---|---|
| Vanilla beans | 3-4 |
| Granulated sugar | 1 cup |
| Water | 1 cup |
By using this ultimate recipe and quality ingredients, you’ll make a rich, aromatic homemade vanilla paste. It’s great for baking, cooking, and desserts.
Step-by-Step Preparation Method
To make a delicious homemade vanilla paste, follow a step-by-step guide. This guide includes several key steps to create a smooth paste. The quality of your vanilla paste recipe depends on these steps.
First, split the vanilla beans and scrape out the seeds. This step releases the flavors and oils from the beans. Then, mix the base ingredients, including the vanilla beans, sugar, and water, to create a uniform mixture.
Preparing the Vanilla Beans
This step is crucial in making vanilla paste. Use a sharp knife to split the vanilla beans and scrape out the seeds. Handle the beans gently to avoid damaging them.
Mixing the Base
In this step, combine the vanilla beans, sugar, and water in a bowl. Mix well to create a smooth and consistent mixture. This step is important for the final flavor and texture of the paste.
Final Processing Steps
After mixing the base, process the mixture to create a smooth paste. This may involve heating the mixture or using a blender. The final steps are key to the quality of your homemade vanilla paste.
Natural Thickening Options
When making your homemade vanilla paste, you might want to use natural thickeners. These help get the right texture without losing flavor. Good options include cornstarch, tapioca flour, and pectin.
Xanthan gum is another thickener, but you can skip it if you like. The goal is to mix ingredients for a smooth paste. Here are some natural thickeners you can try:
- Cornstarch: a common thickener in many recipes
- Tapioca flour: a gluten-free choice for vanilla paste
- Pectin: found in fruits, it thickens your paste
Adding these thickeners to your vanilla paste recipe makes it top-notch for baking. Just play with the ingredient ratios to get the perfect texture.
With a bit of effort, you can make a tasty homemade vanilla paste. It adds flavor to your baked goods and makes your recipes special. Whether you’re an experienced baker or new to it, using natural thickeners in your vanilla paste is a great move.
| Thickening Agent | Ratio | Benefits |
|---|---|---|
| Cornstarch | 1:2 | Easy to mix, neutral flavor |
| Tapioca flour | 1:3 | Gluten-free, smooth texture |
| Pectin | 1:4 | Natural occurring, fruit-based |
Troubleshooting Common Issues
When making homemade vanilla paste, you might run into some common problems. These can mess with the texture, color, and how thick it is. To solve these issues, figuring out what went wrong and fixing it is key. Troubleshooting these problems can make your vanilla paste recipe better.
Some common problems include a paste that’s too runny or too thick, uneven color, or not the right taste. To fix these, you can tweak the liquid or thickening agent in your recipe. For instance, if it’s too thin, adding more cornstarch or tapioca flour can help.
Here are some common issues and their solutions:
- Texture problems: adjust the amount of liquid or thickening agent
- Color and consistency fixes: adjust the amount of vanilla beans or add a little more sugar
- Storage challenges: store the vanilla paste in an airtight container in the fridge
By following these tips and troubleshooting common issues, you can make a tasty and top-notch vanilla paste. Always use fresh, quality ingredients. And don’t hesitate to try new things and adjust your recipe to your liking.
Storage Tips and Shelf Life
To keep your homemade vanilla paste fresh, follow these storage tips. Store it in an airtight container in the fridge for up to 6 months. Freezing it for up to 1 year is also an option.
Keep the paste away from light, heat, and moisture. This will help preserve its flavor and aroma. Here are some additional tips:
- Use a clean and dry airtight container to store the vanilla paste.
- Label the container with the date and contents.
- Store the container in a cool, dark place, such as a pantry or cupboard.
By following these tips, you can enjoy your homemade vanilla paste for a longer time. The shelf life depends on storage and handling. Proper storage lets you use it in many recipes, from baked goods to desserts and drinks.
The quality of vanilla beans also affects shelf life. Better beans mean a longer-lasting paste. Storage conditions, like temperature and humidity, also play a role.
With the right storage and handling, your homemade vanilla paste can last months to a year. This makes it a great, cost-effective choice. By using quality vanilla beans and following these tips, you can enjoy its rich flavor in many recipes.
| Storage Method | Shelf Life |
|---|---|
| Refrigeration | Up to 6 months |
| Freezing | Up to 1 year |
Creative Ways to Use Your Homemade Vanilla Paste
Now that you have homemade vanilla paste, you can try many creative ways to use it. It can make many dishes taste better, from sweet treats to savory meals.
Baking Applications
In baking, your homemade vanilla paste can make cakes, cookies, and pastries taste amazing. It’s also great for creamy frostings and fillings. Here are some ideas:
- Vanilla bean cakes with a hint of creamy frosting
- Shortbread cookies infused with the sweetness of vanilla
- Flaky pastries filled with a vanilla bean-infused cream
Beverage Enhancements
Use your homemade vanilla paste to make drinks like coffee, tea, and smoothies taste better. Just add a little paste to your drink for a vanilla flavor boost.
Savory Dish Applications
Vanilla isn’t just for sweets. It can also add depth to savory dishes. Try adding it to soups, stews, or sauces for a subtle vanilla taste.
| Dish | Vanilla Paste Usage |
|---|---|
| Soup | 1/4 teaspoon per serving |
| Stew | 1/2 teaspoon per serving |
| Sauce | 1/4 teaspoon per serving |
Cost Comparison: Homemade vs. Store-Bought
When you think about making a vanilla paste recipe, cost is a big factor. Looking at the cost of homemade versus store-bought vanilla paste can guide your choice. Making your own paste is often cheaper because the ingredients like vanilla beans, sugar, and water are not pricey.
Let’s break down the costs. Here are some points to think about:
- Cost of vanilla beans: This is the main ingredient in your paste.
- Cost of sugar and water: These are extra ingredients needed for the recipe.
- Cost of storage and equipment: You’ll need containers and tools to store and make your paste.
By looking at the cost per ounce, homemade vanilla paste is more budget-friendly. This is especially true if you bake and cook a lot. With a homemade recipe, you get top-notch vanilla flavor and save money too.
Conclusion: Mastering Your Homemade Vanilla Paste
Making your own vanilla paste is easy and rewarding. It can make your baked goods and dishes taste better. With the recipe and tips from this article, you can make a great vanilla paste at home. Enjoy using a natural ingredient that makes your food richer and more flavorful.
Learning to make homemade vanilla paste lets you control your cooking and baking. You can try different flavors and use it in many ways. It’s perfect for baking cakes, cookies, or adding to drinks.
Next time you need vanilla, try making it yourself. It’s a fun way to make a natural ingredient that improves your cooking. Happy baking and cooking with your homemade vanilla paste!
Frequently Asked Questions
Have you tried this recipe?
Cooking made joyful with Perky Recipes
