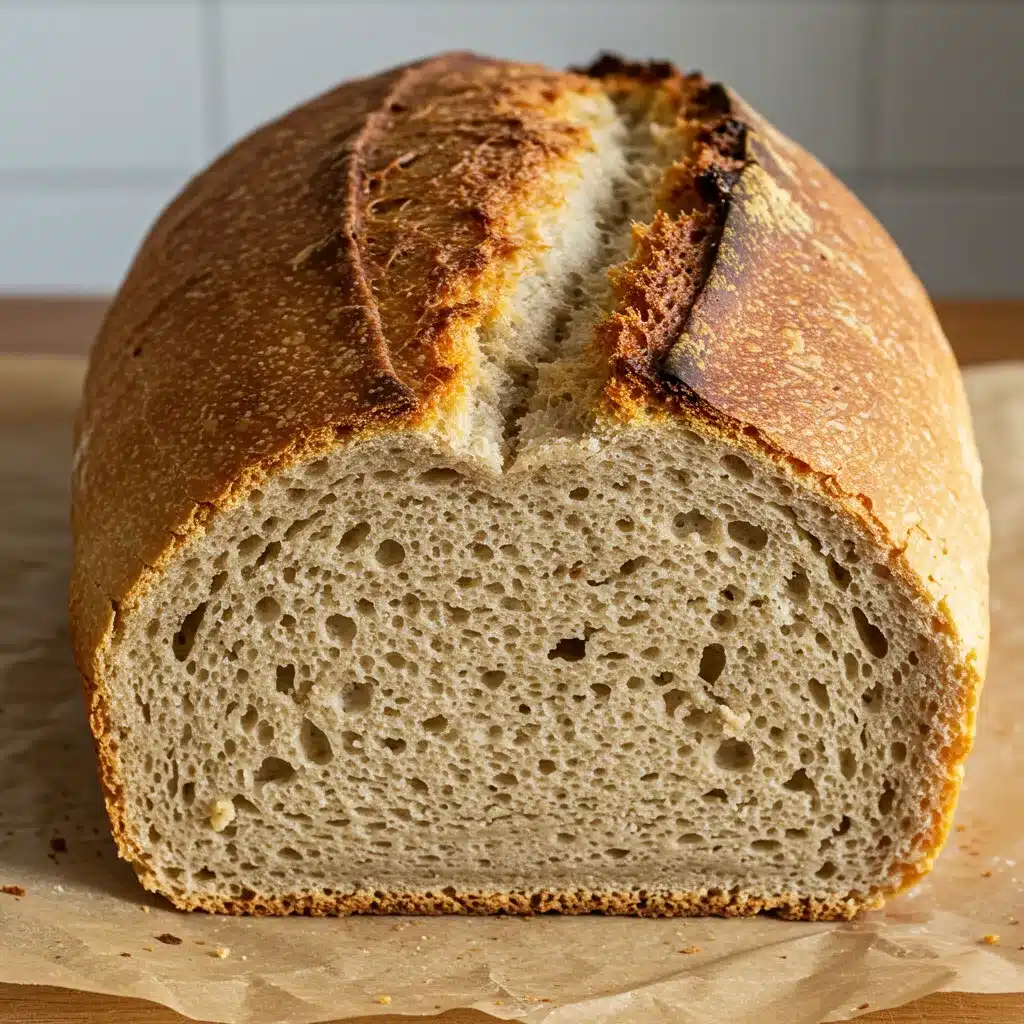
Easy Dutch Oven Bread Recipe to Make in a Cocotte
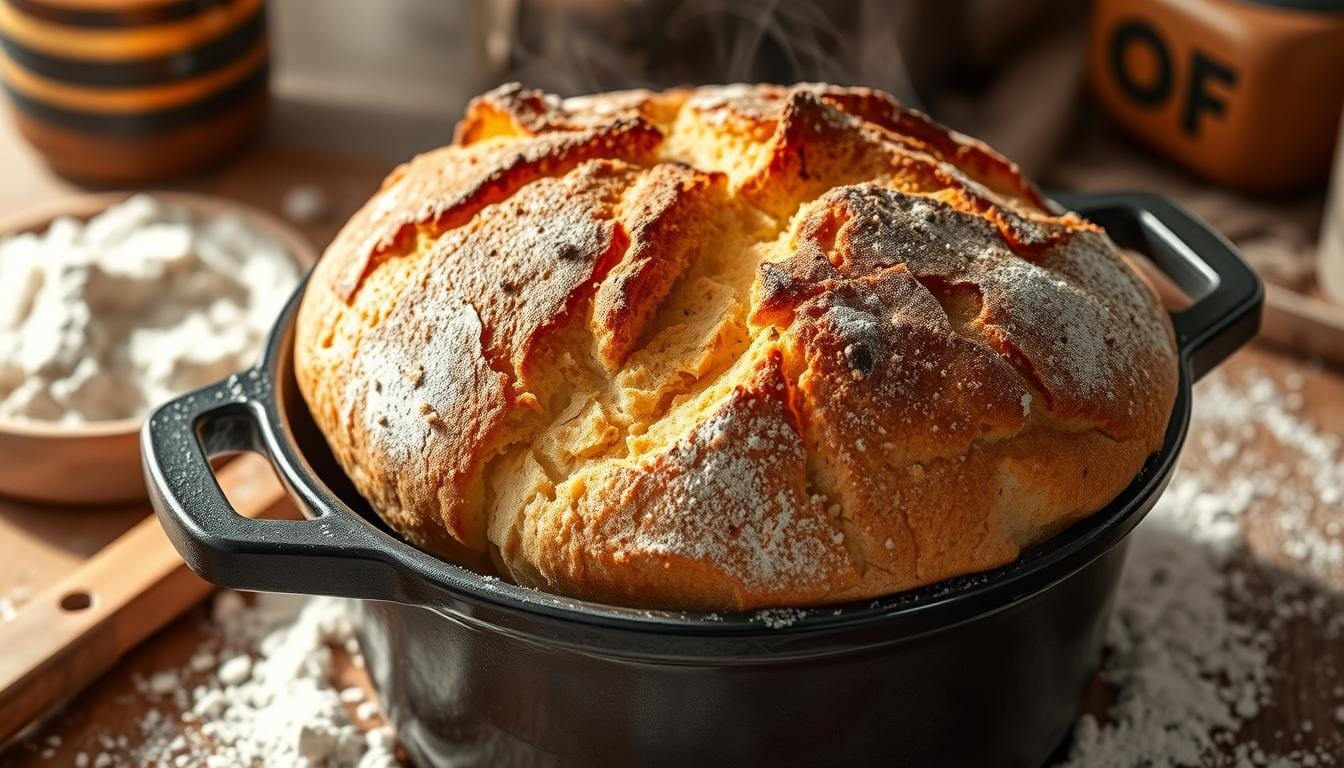
The smell of fresh bread in your kitchen feels like a cozy bakery or a bustling European market. You don’t need to be a pro to enjoy homemade artisan bread. This simple Dutch oven bread recipe lets you make a delicious loaf at home.
Picture biting into warm, crusty bread. The crust crackles, then you hit the soft, fluffy inside. This recipe is a breeze, needing just 4 ingredients. It’s perfect for both seasoned cooks and beginners, making it a must-have in your kitchen.
Table of Contents
Understanding Dutch Oven Bread Basics
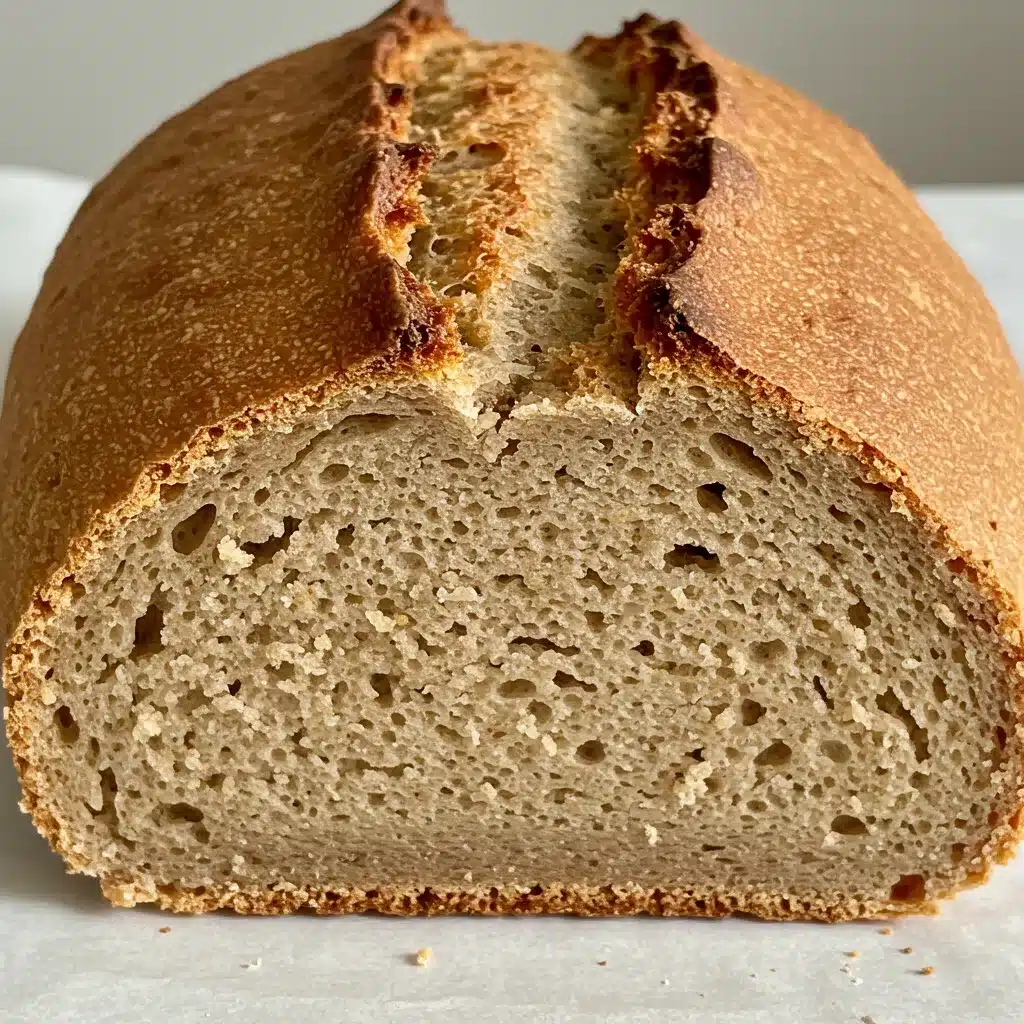
Baking bread in a Dutch oven changes the game for home cooks. It traps moisture and ensures even heat. This leads to a superior crust and crumb. The cocotte baking method offers many benefits, like better oven spring and a deeper, shiner crust.
What Makes Dutch Oven Bread Special
The Dutch oven’s enclosed environment is perfect for bread. The lid traps steam, which is key for a beautiful crust. The cast-iron or enameled interior also provides even heat. This results in an even bake and excellent oven spring, giving your loaf an artisanal look.
Benefits of Baking in a Cocotte
- Better oven spring for a dramatic, high-rise loaf
- Deeper, more vibrant crust color
- Shiny, crackly crust exterior
- Soft, airy crumb texture
Essential Equipment Needed
To bake bread in a Dutch oven, you’ll need a few key pieces of equipment:
- A Dutch oven or cocotte with an oven-safe lid (up to 450°F)
- Parchment paper for lining the Dutch oven
- Oven mitts for handling the hot Dutch oven
With the right tools and techniques, you can unlock the full potential of your cocotte baking skills. You can create bakery-worthy crusty bread and no-knead bread right in your own kitchen.
Simple Ingredients for Perfect Homemade Bread
Making delicious homemade bread is simpler than you think. It starts with basic ingredients. You need high-quality flour, yeast, salt, and water, whether you’re baking a classic loaf or trying new flavors.
For the perfect homemade bread, you’ll need:
- All-purpose or bread flour: 3 cups (375 grams) plus 2 tablespoons. Bread flour is best for its high protein, which makes the bread chewier and better textured.
- Active dry yeast: 1/2 teaspoon (2.5 grams)
- Kosher salt: 1 1/2 teaspoons (9 grams)
- Warm water: 1 1/2 cups (355 ml) plus 2 tablespoons
These simple ingredients mix to make a delicious homemade loaf. Knowing how each part works helps you bake the perfect bread in your Dutch oven or cocotte.
| Ingredient | Quantity |
|---|---|
| All-purpose or Bread Flour | 3 cups (375g) + 2 tablespoons |
| Active Dry Yeast | 1/2 teaspoon (2.5g) |
| Kosher Salt | 1 1/2 teaspoons (9g) |
| Warm Water | 1 1/2 cups (355ml) + 2 tablespoons |
The secret to perfect homemade bread is using quality ingredients and following precise measurements. With these steps, you’ll make homemade bread that everyone will enjoy.
Step-by-Step Mixing Process
Making the perfect homemade bread starts with mixing the dough right. First, you need to measure the flour accurately. Spoon the flour into your measuring cup and level it off with a knife. This ensures your dough has the right mix of flour and liquid.
Combining Wet and Dry Ingredients
In a big mixing bowl, mix the yeast, salt, and flour together. Whisk them gently to spread them out evenly. Then, add warm water and stir until it forms a sticky dough. This is the first step towards kneading and baking.
Initial Dough Formation
After mixing the wet and dry ingredients, cover the bowl. Let the dough rest for 12 to 18 hours at room temperature. This dough proofing time lets the yeast work, improving the bread’s flavor and texture. The dough will grow, making a beautiful loaf.
“The key to exceptional homemade bread lies in the perfect balance of flour, water, and fermentation time. Mastering this step-by-step mixing process will set you up for baking success.”
The No-Knead Method Explained
Making no-knead bread at home is now super easy. The secret is a simple recipe that uses a long fermentation. This method lets the dough develop naturally, giving it a chewy texture and rich flavor.
The no-knead method is a big win for home bakers, especially beginners. It cuts down on kneading, making it perfect for those new to bread making. Just mix the ingredients, let it rise, and bake in a Dutch oven for a crusty, airy loaf.
- The no-knead method’s secret is a long fermentation time, usually 12 to 18 hours. This lets the dough develop gluten naturally, giving it a chewy texture and deep flavor without kneading.
- By letting the dough rest and ferment for a long time, the yeast works its magic. This results in a well-developed crumb and stunning crust.
- The no-knead method is great for beginners because it requires minimal handling. The dough is just mixed, left to rise, and then gently shaped before baking.
“The no-knead bread recipe is a game-changer for home bakers. It delivers professional-quality results with minimal effort.”
Try the no-knead method and enjoy baking delicious, crusty bread at home. With a few simple steps and patience, you can make artisanal-style loaves that will wow everyone.
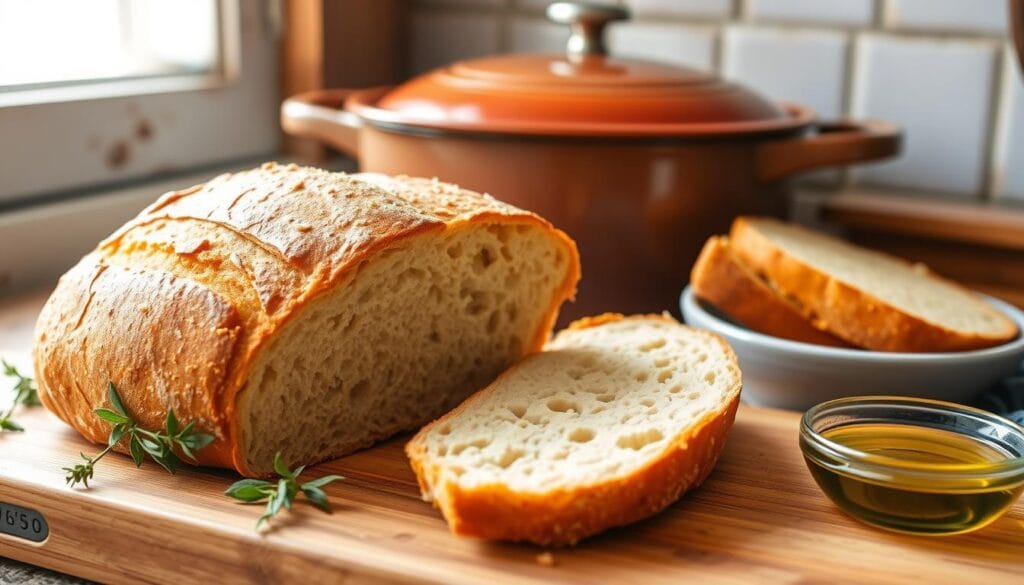
Fermentation and Rising Time Guidelines
Mastering bread fermentation and dough rising is key to perfect homemade Dutch oven bread. Knowing the best times for these steps ensures delicious loaves every time.
First Rise Duration
The first fermentation, or first rise, lasts 12-18 hours at room temperature. This slow process creates a complex flavor, like sourdough. Using less yeast, about 1/2 teaspoon, makes the dough taste like sourdough without a starter.
Second Rise Requirements
After shaping, the dough needs a second rise of 35-45 minutes. This step gives the dough the right lift and structure before baking. It’s important for the perfect texture and rise.
Monitoring the bread fermentation and dough rising times is crucial. It unlocks your Dutch oven bread’s full potential. Finding the right balance between rises leads to a beautifully structured loaf with a crisp crust and soft crumb.
| Rise Stage | Duration | Temperature |
|---|---|---|
| First Rise | 12-18 hours | Room temperature |
| Second Rise | 35-45 minutes | Room temperature |
Bread Recipe to Maake in a Cocatte
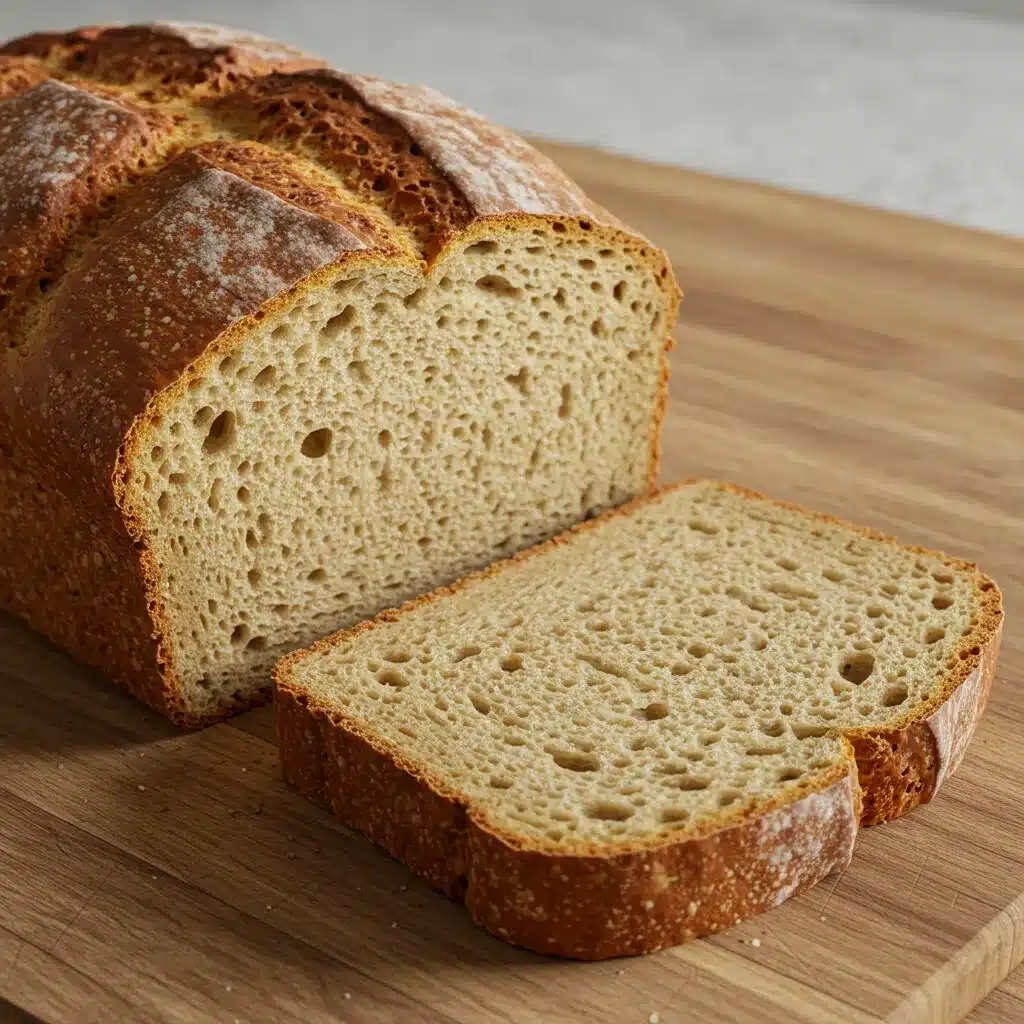
Making homemade bread in a Dutch oven, or cocotte, is a fun and rewarding process. This bread recipe to make in a cocotte shows you how to make a crusty, artisanal loaf. It also has a soft, airy crumb.
- In a large bowl, mix together the bread flour, yeast, and salt. Add the warm water slowly, until a shaggy dough forms.
- Cover the bowl and let the dough rest for 12-18 hours at room temperature. This lets it ferment slowly and develop flavor.
- After the first rise, shape the dough into a round boule. Place it on a parchment-lined surface. Cover and let it rest for 35-45 minutes.
Preheat your oven and a 4-quart Dutch oven (or cocotte) to 450°F. Once they’re hot, place the dough, parchment and all, into the preheated cocotte.
Bake the dutch oven bread recipe for 30 minutes with the lid on. Then, remove the lid and bake for an additional 12-15 minutes. The crust should be a deep golden brown.
| Ingredient | Quantity |
|---|---|
| Bread Flour | 3 cups (375g) |
| Yeast | 1 teaspoon (4g) |
| Salt | 1 1/2 teaspoons (9g) |
| Warm Water | 1 1/2 cups (355ml) |
The result is a rustic, bread recipe to make in a cocotte. Baking in a Dutch oven creates a crisp, shiny crust. The even heat also makes the crumb soft and airy. Enjoy this delightful homemade bread fresh from the oven!
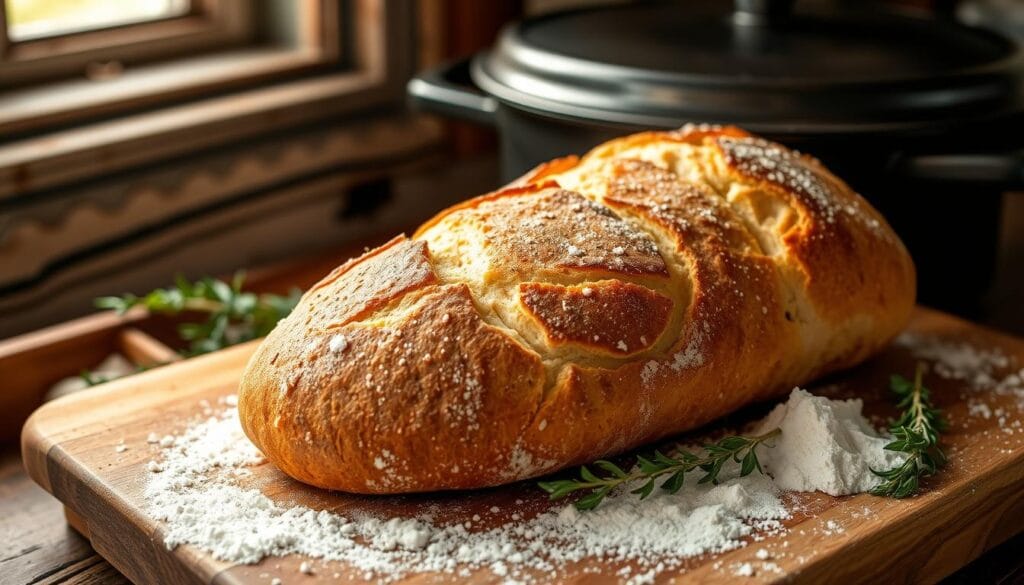
Proper Dutch Oven Preheating Techniques
Baking bread in a Dutch oven, or cocotte, requires the right preheating. To get the perfect crust and crumb, preheat your oven with the Dutch oven inside. Do this for 30 to 45 minutes at 450°F (230°C).
This long preheating time helps the Dutch oven reach the perfect temperature. It also makes sure the heat is evenly spread. Always use oven mitts when handling the hot Dutch oven to avoid burns.
Preheating the Dutch oven is key for several reasons. The high heat makes the dough rise more, giving you a taller loaf. The steam inside the Dutch oven also makes the crust crisp and shiny.
| Preheating Duration | Oven Temperature | Bread Baking Temperature |
|---|---|---|
| 30-45 minutes | 450°F (230°C) | 450°F (230°C) |
By preheating your Dutch oven correctly, you can bake amazing bread at home. Remember, consistent preheating is crucial for the best results.
Dough Shaping and Scoring Methods
Shaping your homemade bread dough into a beautiful boule is key to that artisanal look. Start by gently placing the dough on a lightly floured surface. Use your hands to shape it into a round, smooth ball, without over-working it. Then, place the dough seam-side down on parchment paper.
Creating the Perfect Boule Shape
To shape the dough into a classic boule, follow these simple steps:
- Gently pull the dough from the sides and tuck it under the center, creating a taut, smooth surface on top.
- Cup your hands around the dough and rotate it, applying gentle pressure to further shape it into a tight ball.
- Place the shaped dough seam-side down on a piece of parchment paper, ready for the final rise.
Scoring Patterns for Beautiful Crust
Scoring the dough before baking is crucial for a beautiful crust. Use a sharp knife or lame to make shallow cuts on the dough’s surface. These cuts allow the bread to expand and develop a stunning crust.
Try different scoring patterns like a simple cross or parallel lines. Make sure the cuts are about 1/4 inch deep. This helps the bread rise evenly and look amazing.
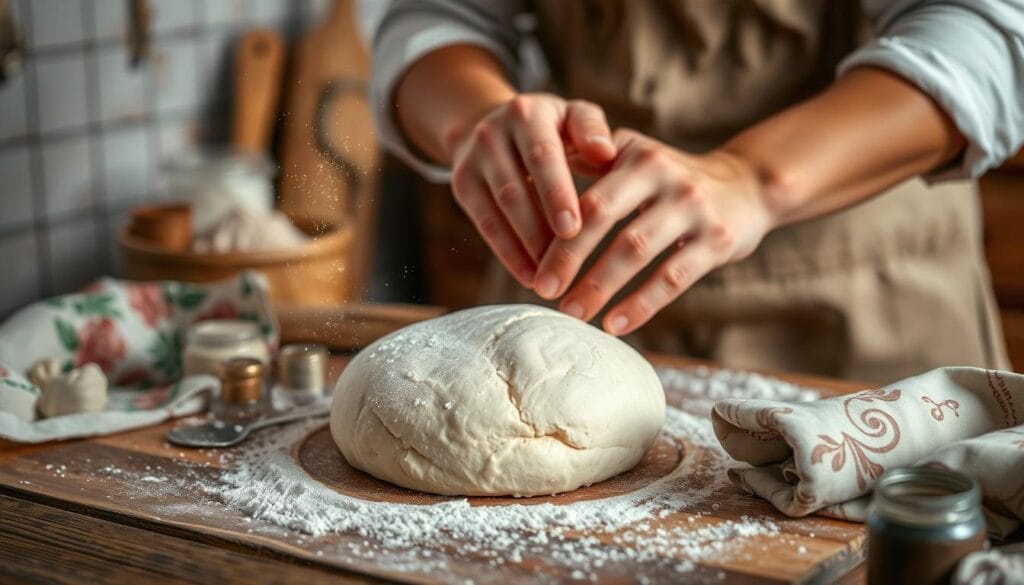
The secret to great bread shaping and dough scoring is in the details. With practice, you can make loaves that look like they came from a bakery.
Steam Creation in Your Dutch Oven
Baking bread in a Dutch oven changes the game. It gives you a moist crust and an airy, bread steam baking interior. The Dutch oven’s closed space traps the steam from the dough, perfect for a great crust and rise.
You don’t need to add water or ice cubes to your Dutch oven. The dough’s moisture, combined with the heat, creates the steam. This steam makes the dough rise well and keeps the moist crust during baking.
To use steam in your Dutch oven, just put it in a hot oven. The steam inside will make your bread soft and moist crust. No extra work needed – the Dutch oven takes care of it!
Temperature Control and Baking Times
Getting the right bread baking temperature and timing is key. It makes the crust golden and the inside tender and flavorful. When baking Dutch oven bread, managing temperature and time is crucial for the best results.
Initial High-Heat Phase
Begin by heating your oven, with the Dutch oven inside, to 450°F. This high heat helps create a perfect crust. Bake the bread, covered, for about 30 minutes. The Dutch oven’s steam helps the dough rise and get a crisp outside.
Final Browning Stage
After 30 minutes, take off the Dutch oven’s lid. This lets the bread brown more. Bake for another 12-15 minutes, until the crust is golden. The bread’s inside should be 206-208°F.
The baking times might vary based on your oven and crust color preference. Try a few test loaves to find the best temperature and time for you.
| Baking Stage | Temperature | Time |
|---|---|---|
| Initial High-Heat Phase | 450°F | 30 minutes (covered) |
| Final Browning Stage | 450°F | 12-15 minutes (uncovered) |
By watching the bread’s temperature and time, you can get a perfect crust and soft inside. This is what makes Dutch oven bread so delicious.
Achieving the Perfect Crust
Making a crusty, artisan-style bread needs a few special techniques. The secret is using steam when baking. When your dough bakes in a Dutch oven or cocotte, the steam makes the crust thin and crispy.
To get the perfect crust, start by heating your oven to 450°F (230°C). Put the Dutch oven in for 30-45 minutes before adding the dough. This high heat helps your crusty bread get an artisan crust. The steam then makes the crust beautifully browned and blistered.
- Bake the dough in the covered Dutch oven for the first 20 minutes, allowing the steam to work its wonders.
- Then, remove the lid and continue baking for an additional 25-35 minutes, allowing the crust to deepen in color and develop a delightful crunch.
The internal temperature of a perfectly baked loaf should be around 206-208°F (96-97°C). This ensures the crumb is fully cooked and the crust is golden and irresistible.
“The key to a stunning crust lies in the steam-filled environment of a Dutch oven. The trapped moisture transforms the dough, creating a thin, crispy exterior that’s simply irresistible.”
The longer the bread bakes, the deeper and more caramelized the crust gets. By using these techniques, you’ll make the perfect crusty bread with an artisan crust. It will surely impress your friends and family.
Preventing Bottom Burning Solutions
Baking bread in a Dutch oven can be rewarding, but avoiding bottom burns is a challenge. Luckily, there are ways to ensure your bread bakes evenly and prevents bottom burns.
One good solution is to not bake directly on a stone. Instead, place a baking sheet or aluminum foil under the Dutch oven. This barrier helps prevent bread burning on the bottom. Also, try lowering the oven temperature to about 425°F. This slows down browning and promotes even baking.
Another trick is to sprinkle cornmeal or wheat bran on the Dutch oven’s bottom before adding the dough. This protective layer helps prevent bread burning and ensures even heat.
- Use a baking sheet or aluminum foil under the Dutch oven
- Reduce oven temperature to 425°F
- Add cornmeal or wheat bran to the bottom of the Dutch oven
If bottom burns still happen, try using double-layered parchment paper. It insulates and prevents bread burning. Also, remove the bread from the Dutch oven after 30 minutes and bake it directly on the rack. This ensures even baking throughout.
| Solution | Benefits |
|---|---|
| Use a baking sheet or aluminum foil under the Dutch oven | Creates a barrier to prevent bread burning on the bottom |
| Reduce oven temperature to 425°F | Slows the browning process and promotes even baking |
| Add cornmeal or wheat bran to the bottom of the Dutch oven | Provides a protective layer to prevent bread burning |
| Use a double layer of parchment paper | Acts as an insulator to prevent bread burning and ensure even baking |
| Remove the bread from the Dutch oven after 30 minutes and finish baking directly on the oven rack | Helps achieve a even baking throughout the loaf |
By using these simple solutions, you can avoid bottom burns and enjoy perfectly even baked loaves every time.
Cooling and Storage Recommendations
After baking your Dutch oven bread, it’s key to cool and store it right. This keeps it fresh and tasty. Let the bread cool completely, which takes about 45 to 60 minutes.
Proper Cooling Methods
Put the bread on a wire rack or a clean, dry surface after taking it out of the Dutch oven. Don’t cut into it until it’s fully cooled. This prevents the inside from getting soggy and the crust from losing its crispness.
Storage Tips for Freshness
For your bread cooling to stay fresh, store it in an airtight container or wrap it in plastic wrap. Keep it at room temperature for up to 3 days. This keeps the bread moist and prevents it from drying out.
Don’t store the bread storage in the fridge. The cold, dry air can make the crust stale and the inside dense.
By following these easy bread cooling and bread storage tips, you can enjoy your homemade Dutch oven bread for days. Proper care and storage keep it fresh and delicious.
Troubleshooting Common Issues
Baking homemade bread can be rewarding but comes with challenges. Whether you’re experienced or new, being ready to solve problems is key. We’ll look at common bread baking issues and offer solutions for perfect results.
Dense or Heavy Bread
Dense, heavy bread might be from under- or over-proofing. Stick to the proofing times and temperatures. Adjust the dough’s fermentation to get the right rise and airiness.
Pale Crust
A pale crust often means baking time or temperature was off. Preheat your Dutch oven well and bake at the right temperature. If the crust isn’t dark enough, try baking longer or at a higher temperature.
Burnt Bottom
Burning the bottom of bread is frustrating. Use a baking sheet or parchment paper to protect the bottom. This keeps it from burning in the hot Dutch oven.
Altitude Adjustments
At high altitudes, you might need to tweak your recipe. Altitude affects dough rising and baking. Try less yeast or adjust baking time and temperature for better results.
Fixing bread baking issues is about trying different things and paying attention to details. By tackling common problems and making adjustments, you’ll bake delicious bread in your Dutch oven consistently.
Recipe Variations and Flavor Additions
Explore the endless possibilities of your homemade bread. The basic Dutch oven bread recipe is a canvas for your creativity. You can make a unique loaf that suits your taste and inspires your senses.
Add vibrant flavors like Cranberry Walnut, Fresh Herbs and Pepper, Caraway, Jalapeño, and Lemon Thyme. Mix these into the dough at the start. This ensures they’re spread evenly. If you add wet ingredients, adjust the liquid to keep the dough perfect.
Discover the joy of baking with artisan bread recipes. Whether you want a savory or sweet loaf, Dutch oven bread is versatile. It lets you experiment and find your own special bread. Enjoy the process, have fun, and let your creativity shine.
FAQ
What makes Dutch oven bread special?
Dutch oven bread is special because it uses sealed moisture and even heat. This results in better oven spring, a deeper crust color, and a shiny exterior.
What essential equipment is needed to bake Dutch oven bread?
You’ll need a Dutch oven or cocotte with an oven-safe lid (up to 450°F). Also, parchment paper and oven mitts are essential.
What are the four basic ingredients for this no-knead bread recipe?
The basic ingredients are all-purpose or bread flour (3 cups + 2 tablespoons), active dry yeast (1/2 teaspoon), kosher salt (1 1/2 teaspoons), and warm water (1 1/2 cups + 2 tablespoons).
How do you properly measure the flour for this recipe?
To measure flour accurately, aerate and level it before measuring.
What is the no-knead method and how does it work?
The no-knead method uses a long fermentation time (12-18 hours). It develops gluten naturally, creating a chewy texture and complex flavor. It’s great for beginners because it requires minimal handling.
How long should the dough rise for the first and second rises?
The first rise should be 12-18 hours at room temperature. The second rise should be 35-45 minutes after shaping the dough.
How do you properly preheat the Dutch oven for baking?
Preheat the oven with the Dutch oven inside for 30-45 minutes. This ensures even heat distribution, mimicking a professional baking environment.
How do you shape the dough and prepare it for baking?
Shape the dough into a round ball on a lightly floured surface. Place it on parchment paper, seam side down. Lightly flour the top and score it with a knife for controlled expansion during baking.
How does the Dutch oven create steam for better bread baking?
The Dutch oven traps the steam from the dough during the initial baking. This keeps the dough moist, allowing for better oven spring and crust development.
What are the baking temperatures and times for this recipe?
Bake the bread at 450°F for 30 minutes covered, then 12-15 minutes uncovered. The internal temperature should reach 206-208°F when fully baked.
How can you prevent the bread from burning on the bottom?
To prevent bottom burning, bake the bread on a baking sheet or aluminum foil. Add cornmeal or wheat bran to the bottom. Use a double parchment layer or reduce the oven temperature to 425°F.
How should you store the baked bread?
Allow the bread to cool completely (45-60 minutes) before slicing. Then, store it wrapped in plastic wrap in an airtight container at room temperature for up to 3 days.
What are some common issues that can arise when baking this bread, and how can they be addressed?
Common issues include dense bread (under-proofed or over-proofed), pale crust (insufficient baking time or temperature), and burnt bottom (use insulation methods). Adjust the recipe based on altitude if necessary.
What are some flavor variations that can be added to this bread recipe?
You can add Cranberry Walnut, Fresh Herbs and Pepper, Caraway, Jalapeño, or Lemon Thyme. Add the ingredients during the initial mixing stage and adjust the liquid content if adding wet ingredients.

